

In default Magento 2, the City field in both billing and shipping address forms appears as a manual text input. This means customers must type their city name every time they check out. While it works, it often leads to typos, inconsistent city names, and failed deliveries due to invalid or unsupported cities.
Converting the city input into a dropdown field in Magento 2 solves these issues instantly. A predefined city list helps eliminate typos, improves checkout accuracy, restricts non-serviceable locations, and prevents shipping and delivery failures.
Below is a complete, step-by-step guide on converting the Magento 2 city field to a dropdown using the Magento 2 City Dropdown Manager extension
Step 1: Download the Magento 2 City Dropdown Manager Extension
Visit the product page, purchase and download the Magento 2 City Dropdown Manager extension.

This extension is specifically built to replace the default Magento 2 city field from text to dropdown in billing address and shipping address in checkout. The extension loads cities based on the selected country and region.
Step 2: Install the Extension
Download the extension package and follow the official installation guide. The guide includes instruction for
- Uploading the extension to your server
- Enabling the module via CLI
- Running setup upgrade
- Deploying static content
- Clearing cache
php bin/magento module:enable Magearmy_City
php bin/magento setup:upgrade
php bin/magento cache:flush
Step 3: Configure the Extension
After installing the extension:
- Go to Stores → Configuration → MageArmy → City Dropdown Manager
- Enable the extension
- Save changes and clear cache
This configuration ensures the system loads city dropdowns across Magento 2 wherever addresses are used.
Step 4: Add Cities to the Dropdown
To populate the dropdown:
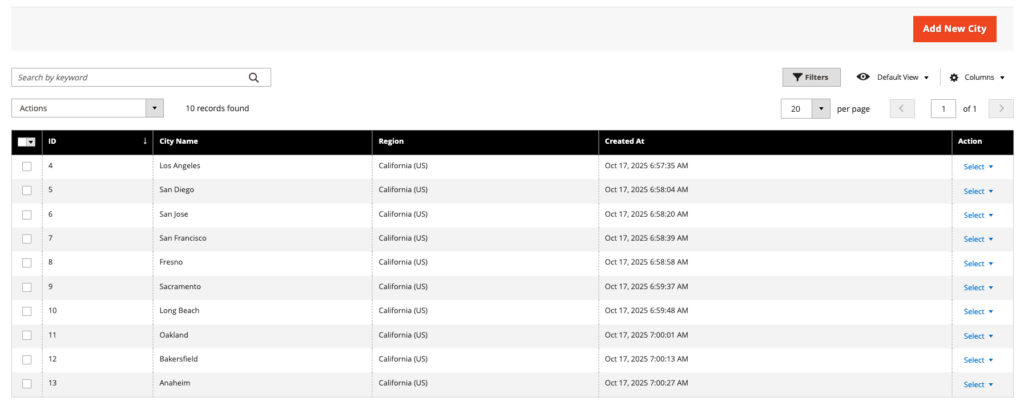
- Go to Magento 2 Admin > Magearmy > City Manager > City
- You will see a listing grid.
- Click the “Add New City” button at the top right
- Fill in the City Information
- City Name: Enter city name
- Region: Choose the region you want to link the city to.
- Click the “Save” button to save and return to the grid
You can add unlimited cities. They will automatically load in the dropdown based on the customer’s selected region.
Tips
- Add only serviceable cities to avoid failed deliveries.
- Keep city names consistent for shipping and tax accuracy.
- Periodically clean up your city list to remove duplicates.
Frequently Asked Questions
- Is this extension compatible with the latest Magento 2 version?
Yes. The Magento 2 City Dropdown Manager extension is fully compatible with Magento 2.4.x (the latest Magento 2 versions). - Is this extension compatible with the Hyvä Theme?
Yes. The extension works perfectly with the Hyvä Theme. In Hyvä, the city field appears as a dropdown when adding or editing an address in the customer account. - Is this extension compatible with Hyvä Checkout?
Yes. In Hyvä One-Page Checkout, the city field appears as a dropdown. In Hyvä Default Checkout, the city field also appears as a dropdown.